

How to Create a Video Tour in Minutes: Step-by-Step Guide

Stageless Team
Editor in Chief
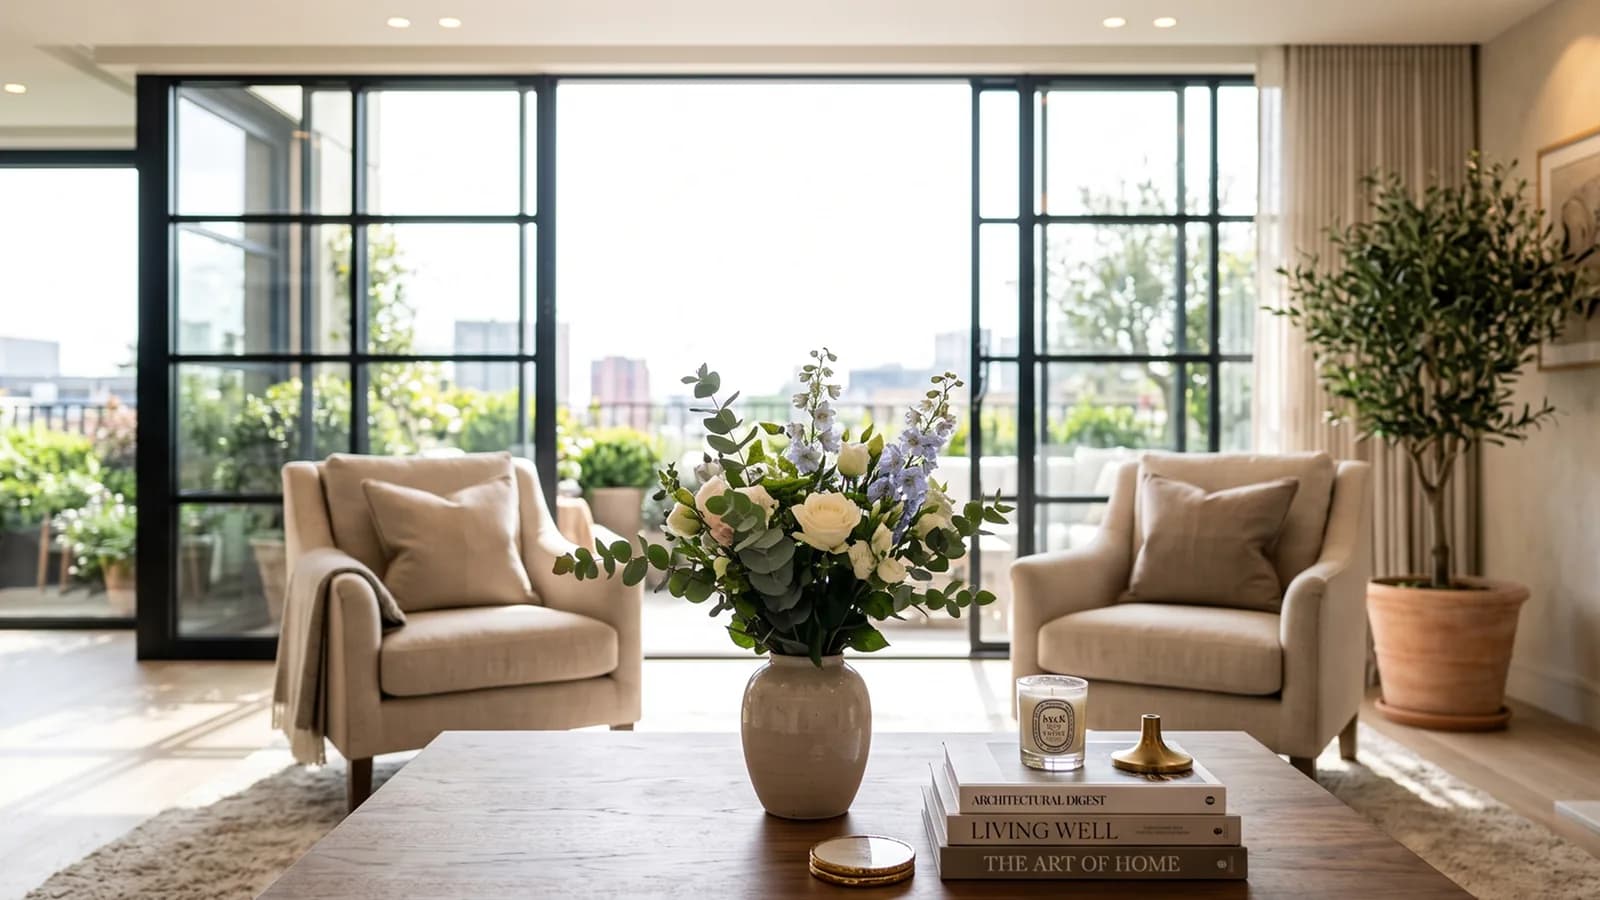
Creating a virtual tour of a property no longer requires 360° cameras, specialized software, or hours of editing. With Stageless's Video Tour, the complete process — from taking photos to a shareable MP4 file — can be done in just a few minutes using regular smartphone photos. This guide explains each step of the process, with practical tips to get the best possible result in the least amount of time.
Before You Start: What to Prepare
Before opening the Stageless platform, it's worth spending a few minutes preparing the property and the photo session. Although Video Tour doesn't require special equipment, the quality of the final tour is directly proportional to the quality of the base photos. A few simple steps make a significant difference: open all blinds and curtains to maximize natural light; turn on all the property's lights to even out interior lighting; remove or organize the most distracting items in each room (clothes, personal objects, visible clutter); and check the framing in each photo before moving to the next room. The property doesn't need to be perfectly tidy — Stageless's declutter and Instruction Editing tools can handle unwanted elements after the session. The most important thing is that each room is well lit and the framing shows the space clearly.
Step 1: Photograph the Property
With the property ready, walk through each room and take 2 to 4 photos per space. For the living room and kitchen — the most visually important rooms — it's worth taking photos from opposite corners to give a more complete sense of the space. For bedrooms and bathrooms, one well-framed photo from the doorway angle is usually sufficient. For the exterior, photograph the main facade, the entrance, and any relevant outdoor spaces (garden, terrace, garage). Professional photography isn't needed: a current iPhone or Android in automatic mode, with good natural lighting, produces photos perfectly suited for Video Tour. Portrait mode or any mode with artificial bokeh should be avoided, as it distorts the proportions of the space — use standard photo mode in horizontal orientation.
Step 2: Edit the Photos for the Listing (Optional but Recommended)
Before generating the Video Tour, you can apply Stageless's other tools to the photos. This step is optional — Video Tour works equally well with unedited photos — but tends to produce a more professional final result. The recommended sequence: start with automatic image enhancement to correct exposure, contrast, and general tones; use automatic declutter or specific object removal to clean up any unwanted elements visible in the photos; if the property is empty, apply virtual staging to furnish the rooms before generating the tour — a tour of a furnished property is significantly more appealing than empty rooms. Finally, use Instruction Editing for any detail adjustments you want to make before finalizing the photos. When you're happy with the photos for the static listing, those same images are ready to generate the tour.
Step 3: Generate the Video Tour on the Platform
With the photos ready, select the Video Tour option on the Stageless platform. Upload the photos in the order you prefer for navigation — it generally makes sense to start with the exterior, move through the entrance, cover the common areas (living room, kitchen), and end with bedrooms and bathrooms. The order you set here will influence the tour's navigation logic, though the end user can navigate freely in any direction. After uploading the photos, the platform processes them automatically — the AI analyzes each image, recognizes the spatial geometry, and generates the interactive navigation. Depending on the number of photos and the complexity of the property, this process typically takes a few minutes. When processing is complete, you can preview the tour before downloading.
Step 4: Review and Adjust
Before downloading and sharing the tour, do a full review by navigating through each room. Check that all important rooms are present and that the navigation between them is clear and intuitive. If any room has noticeably lower visual quality than the others — usually because the base photo was darker or less sharp — you can replace that specific photo with an alternative and regenerate the tour. Also check that the navigation order makes sense from the user experience perspective: ideally, the tour should tell the story of the property naturally, like a guided in-person visit. A buyer navigating the tour should be able to understand the general floor plan and the relationship between spaces, without having to guess where they are at any point.
Step 5: Download and Share the MP4
When you're happy with the result, download the MP4 file. This file can be used in several ways depending on the sharing context. To send to a specific buyer by email or WhatsApp, share the file directly — the MP4 works on any device without needing to install anything. To publish on the agency's social media, upload directly to Instagram, Facebook, or YouTube — in all these cases, the tour appears as an interactive video that users can control. To include on the real estate portal, check the video upload options of the specific portal where you publish your listings — most European portals support MP4 video. To embed on the agency's website, the file can be uploaded to YouTube or Vimeo and the link embedded on the property page.
Tips for a High-Quality Tour
Some details make the difference between an acceptable tour and one that impresses. First, consistent lighting: try to photograph all rooms under the same light conditions — ideally mid-morning or mid-afternoon, when natural light is most even and doesn't create harsh shadows. Second, photo orientation: always use horizontal (landscape) orientation — portrait photos can be included, but they break the fluidity of the navigation experience. Third, number of photos: more photos result in a more complete tour and better perception of space — aim for at least 8 to 12 photos for a typical two or three-bedroom apartment. Fourth, include transition spaces: a hallway, an entrance, a balcony — these spaces that are often skipped in static listing photos are important in the tour because they help the user understand the floor plan and transition naturally between rooms.
Common Mistakes to Avoid
The most frequent mistakes in creating a Video Tour are avoidable with a bit of attention. The first is photographing under weak artificial light: dark rooms produce low-quality tours regardless of image enhancement tools. The second is omitting important rooms: a tour that doesn't include the kitchen or a bathroom will generate questions and suspicion from buyers — if a room exists, it should appear in the tour. The third is mixing portrait-orientation photos with landscape ones: inconsistent orientation makes the navigation experience uncomfortable. The fourth is sharing the tour before reviewing it: small visual inconsistencies — one room significantly darker than the rest, a blurry photo — have a disproportionate impact on the overall quality perception of the tour.
How Long Does the Complete Process Take
For those wondering whether Video Tour fits into an active agent's work rhythm, it's worth calculating the total time. The photo session for a typical 3-bedroom apartment — walking through each room, taking 2 to 3 photos per space — takes between 15 and 25 minutes, including preparation and light adjustment time. Editing the photos with Stageless tools (image enhancement, declutter, spot adjustments) takes another 10 to 20 minutes, depending on the property's condition. Uploading the photos and generating the Video Tour on the platform takes another 5 to 10 minutes, including AI processing time. In total, from the start of the photo session to the MP4 file ready to share, the complete process rarely exceeds one hour for a mid-sized apartment — and much of that time is passive, with the platform processing while the agent handles other tasks.
Checklist: What to Verify Before Sharing the Tour
Before sharing the Video Tour with buyers or publishing it on a portal, use this quick checklist to make sure the result is ready. Verify that all the main rooms of the property are present — living room, kitchen, bedrooms, bathrooms, relevant outdoor spaces. Confirm that visual quality is consistent across rooms — no photo significantly darker or blurrier than the rest. Make sure the navigation order is logical — ideally it follows the floor plan naturally, starting from the entrance or facade and moving through the spaces in sequence. Check that the MP4 file plays correctly on a smartphone — test on your own phone before sending to buyers. And confirm that the photos used in the tour are the final edited versions, not the raw photos from the session.
How to Use the Tour in First Contact with Buyers
The most effective moment to share the Video Tour is immediately after a buyer's first contact. When someone messages on a portal asking about the property, instead of responding with just text or additional photos, share the tour link or file: 'I'm sending you the interactive tour of the property so you can explore each room at your own pace before we schedule a visit.' This approach serves two purposes: it differentiates the agent's response from the generic reply the buyer probably receives from most other listings, and it qualifies the lead before committing both parties' time to an in-person visit. A buyer who completes the tour and still wants to visit is, by definition, a more serious lead.
Questions Buyers Ask After Seeing the Tour
One practical consequence of Video Tour that many agents report is a shift in the type of questions they receive after sharing the tour with an interested party. With static photos, questions tend to be basic: how many bedrooms? What's the size? Is there parking? These are questions already answered in the listing, but the buyer asks them because the photos didn't give them enough sense of the space. With the interactive tour, these basic questions decrease because the buyer has already obtained most of those answers by exploring the property virtually. The questions that come after the tour are different and more specific — they're questions from a buyer who is genuinely considering moving forward.
Video Tour as Part of a More Efficient Sales Process
Video Tour isn't just a presentation tool — it's a qualification tool that makes the entire sales process more efficient. By letting buyers do a virtual pre-visit before the in-person visit, it filters out interested parties with misaligned expectations early in the process, reduces the number of in-person visits needed to find the right buyer, and improves the quality of the visits that do happen. For the property owner, this means less disruption to daily life and fewer strangers entering the home at inconvenient times. For the agent, it means fewer hours spent on visits that don't progress and more time available for properties with real sales potential.
Create the first Video Tour of your property now with Stageless AI — the complete process takes less time than an in-person visit.
Written by Stageless Team
We are a team of real estate technology experts passionate about AI. Our mission is to help agents sell faster by democratizing access to high-end virtual staging tools.

